The Ultimate Checklist for Cable Management in Your Home Office
A tidy desk is rarely about looks. It is about being able to find the right charger in ten seconds, sliding your chair back without catching a wheel on a power lead, and unplugging a laptop without dislodging three other cables. Clutter builds quietly: one new monitor, one speaker, one USB hub, and suddenly there is a nest behind the desk that you only see when you drop a pen. The fix takes an afternoon and a modest amount of kit. Work through the list below in order and you will end up with something you can actually maintain.
Before You Buy Anything: A Five-Minute Audit
Photograph the back of the desk as it is now. It sounds fussy, but you will want that picture when you cannot remember which black cable went into the dock.
Then trace each cable from the device to the plug. Ask three questions of every one: is this device still used? Does it need to sit where it sits? Is the cable the right length? The old router, the spare charger for a phone you replaced, the printer lead for a printer that went to a charity shop two years ago. If you cannot identify a cable, test it once. If it works and you have no use for it, box it or bin it. If it does not work, bin it.
Finally, count your power needs. In the UK most wall sockets deliver up to 13 amps, and extension leads carry their own rating on the label. Knowing what you are plugging in makes the safety section further down much easier to follow.
The Kit Worth Having
Buy once, measured. A 20mm by 12mm length of self-adhesive trunking is the workhorse of most small offices, but it is useless if you need 40mm for a bundle of five cables.
- Hook-and-loop ties (the reusable fabric sort). Kinder than zip ties and you can undo them when you add a device.
- Adhesive cable clips in two or three sizes. Check the surface first: some clips release from painted or textured walls within a week.
- Self-adhesive trunking for runs along skirting boards and up furniture legs.
- An under-desk cable tray or basket to lift the mess off the floor and away from feet.
- A cable management box for the extension lead, if you would rather hide than mount it.
- Spiral wrap or braided sleeving for the bundle that travels between desk and wall.
- Labels, either write-on flags or a small label printer.
- A floor cable protector if any lead crosses a walkway.
Skip cheap single-use zip ties unless you enjoy cutting them off, and skip anything advertised as "no tools needed" if you have a drill and a solid desk. Two screws beat four failing adhesive pads.
Work From the Wall Outwards
Order matters here. Tidying the desk first and then dealing with the wall means doing half the job twice.
- Clear the zone. Unplug everything, move the desk out slightly if you can, and dust the skirting and floor. Grit under a sticky clip is why it falls off.
- Plan the route. Keep mains cables on one side and data cables on the other where possible. They do not need to be separated for safety in a home office, but the split keeps audio hum down and makes future fault-finding simpler.
- Mount the power strip. Screw it to the underside or back of the desk, or drop it into a cable box. Off the floor, out of the way of feet and vacuum cleaners.
- Run the spine. Long horizontal runs go along the skirting inside trunking. Vertical runs go up desk legs in clips, evenly spaced.
- Leave a service loop. Coil the slack in a loose figure of eight near the plug so you can pull the desk out without unplugging anything.
- Connect from the far end back. Device first, plug last. You will find the awkward cable earlier this way.
- Test, then commit. Plug everything in and check it all works before you press adhesive clips home or screw the tray in place.
Taming the Desk Itself
On the surface
Aim for one cable crossing the top of the desk: the one going to your laptop or dock. A USB-C dock or hub mounted under the desk means a single lead reaches the computer and everything else lives below. Keyboard and mouse cables can run behind the desk edge or under a desk mat.
Underneath
This is where the tray earns its keep. Group cables by direction rather than by device, so the bundle heading left is tied as one and the bundle heading right as another. Monitor cables tend to droop behind the stand; clip them to the stand or run them down the arm if you use one.
Rule of thumb: if you cannot trace a cable from device to plug with one finger, it is not finished.
Label, Then Leave a Record
Label both ends of every cable, close to the plug and close to the device. "Monitor", "speakers", "dock power" is enough. Then photograph the finished setup and keep the image somewhere you will find it. When something stops working in eight months, that photo will save you twenty minutes of guesswork. Keep a small pouch of spare ties and a couple of spare cables in a drawer and you will never be tempted to bodge a fix at nine in the evening.
Safety: The Parts Worth Getting Right
Most cable management is cosmetic. Some of it is not.
- Read the label on your extension lead and stay within its rating. Avoid plugging one extension lead into another to reach a far socket.
- Do not run cables under rugs, under carpet or across a doorway without a proper floor protector. Hidden cables get crushed and warm.
- Do not coil an extension lead tightly while it is powering something demanding; heat builds in the coil.
- Keep leads away from radiators, heaters and hot pipes, and check pet or toddler access if either is in the house.
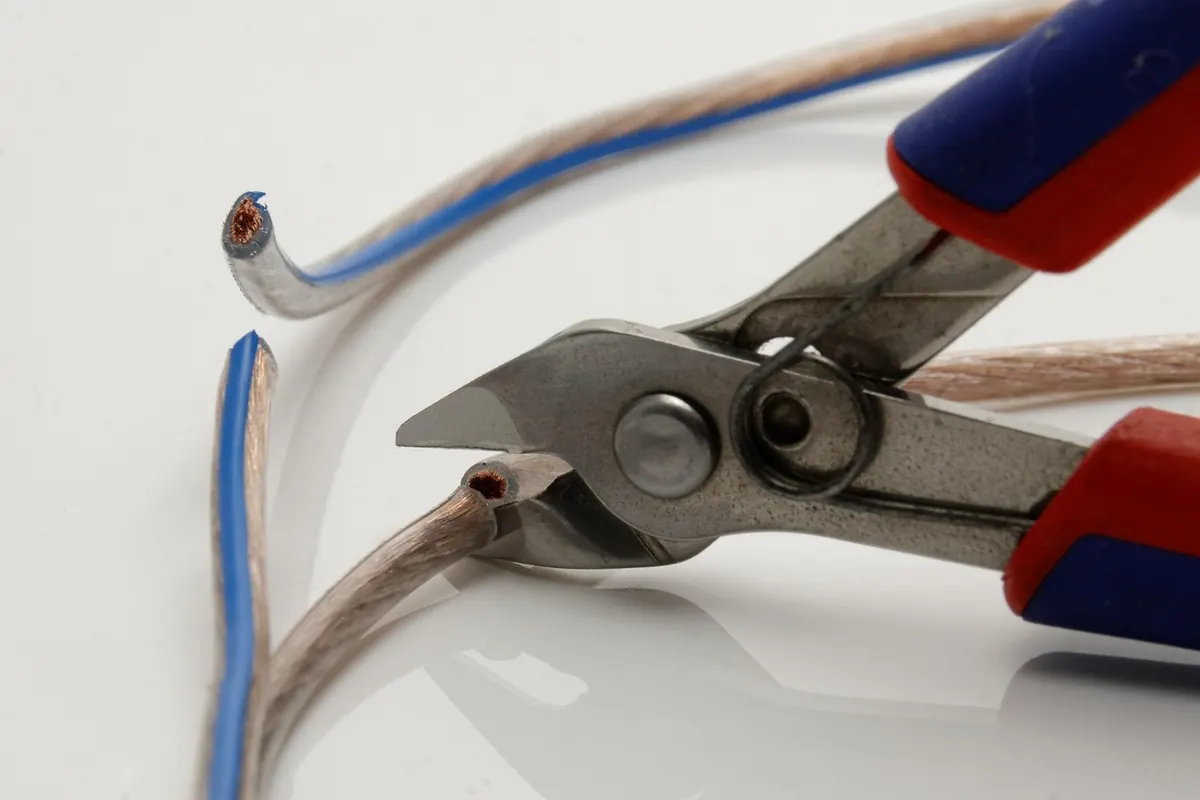
- Replace any cable with a damaged plug, frayed sheath or exposed inner wire. Tape is not a repair.
- Check before you drill into a wall; cable and pipe detectors are inexpensive. If you need new sockets, altered fixed wiring or you are unsure about loads, bring in a qualified electrician rather than working it out yourself.
Keeping It Tidy: The Ten-Minute Reset
Cable management is not a one-off job. Once a month, run a hand along the main bundle, press any clips that have lifted, and re-tie anything that has loosened. When a new device arrives, add it to the system rather than dropping it into the pile. Keep a one-in-one-out habit for chargers and adapters.
The test of a good setup is simple: can you add a new device, or move the desk, in under a minute without swearing? If the answer is yes, you are done.
Photo: Bru-nO / Pixabay