The Best Accessories for Video Calls: A Comparison of Webcams, Microphones, and Lighting
Your laptop already has a camera, a microphone and a screen, so technically you have everything you need for a video call. You also have a camera that turns you into a soft-focus smudge, a microphone that picks up next door's boiler, and a screen that lights your face from below like a campfire story. Upgrading doesn't require a big spend, but buying the wrong thing is money wasted. Here's how the three pieces fit together, and what to check before you order.
Work out what's actually broken
Before you buy anything, ask the people you call. Most will tell you the truth, and "you sound like you're in a tunnel" is a very different problem from "you keep disappearing into shadow". Be specific when you ask: do I sound distant or muffled? Is my face too dark or washed out? Does the picture break up when I move?
- You sound distant, tinny or echoey. Microphone. It's usually the weakest part of a stock laptop.
- You look grainy or flat. Lighting, then camera. A cheap light on a modest camera beats a good camera in a dark room.
- You're a silhouette against a bright window. Lighting again, and it's free: turn your desk around or close the blind.
- Nothing is obviously wrong. Move the camera to eye level and put a lamp in front of you. That's most of the job.
Fix one thing at a time. If you change camera, light and microphone in the same week, you won't know what helped.
Webcams: what actually matters
Resolution is the number on the box; how the camera handles light is what you'll see on the call. A 1080p camera with a decent sensor in a bright room looks better than a 4K model in a dim spare bedroom, and most call platforms compress your video anyway. 1080p at 30 frames per second is genuinely plenty.
Sensors, focus and field of view
Bigger sensors gather more light, which means less noise in a normal British living room in February. Look for autofocus if you move around, or manual focus if you'd rather it didn't hunt while you talk. Field of view matters more than people expect: a wide lens shows your whole room and half the kitchen, while a narrower one keeps attention on you. Plenty of models let you crop the image in their software, so a wide lens isn't fatal.
Logitech's C920 has been the safe default for years, with the Brio 500 and MX Brio further up the range. Elgato's Facecam suits anyone who wants more control, and Razer's Kiyo Pro is popular if you like a wider shot. These are all plug-and-play over USB, but check the mount fits your monitor and whether a privacy shutter is built in — the sort of detail you miss until you care about it. Watch the frame rate, too: some budget cameras advertise 4K but only manage 15 frames per second at that resolution, which looks worse than a steady 1080p30.
When to spend more
Spend more if you present regularly, record video, or sit somewhere you can't light well. Otherwise, put the money into a microphone and a lamp. A £70 webcam in a bright room will beat a £250 one in a cave.
Your phone is already a very good webcam
Before you buy anything, check whether the phone in your pocket can do the job. Continuity Camera on a Mac, Camo on Windows and macOS, or the built-in webcam modes on many Android handsets all turn a modern phone into a camera that out-resolves most £100 webcams. You'll need a mount, a cable and a way to stop the screen locking, but if you already own the phone, it's the cheapest picture upgrade going.
Microphones: the upgrade people notice immediately
Nobody thanks you for a sharp picture. Everybody notices bad audio, and they'll notice it for the whole meeting.
USB mics, headsets and lapel mics
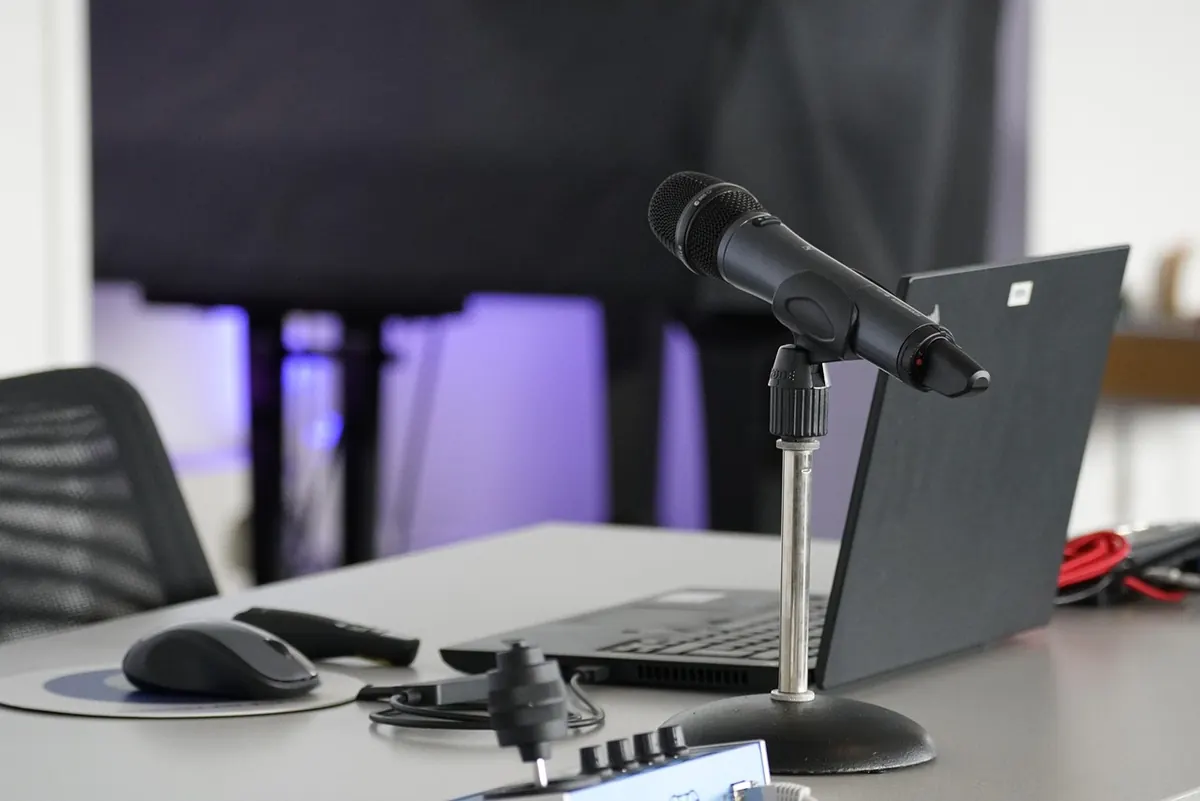
A headset is the cheapest fix and still the most reliable, because the microphone sits centimetres from your mouth and the room barely matters. If you'd rather not wear one, a USB desk microphone is the standard home-office answer — Blue's Yeti, the Rode NT-USB Mini, the Shure MV7 and Audio-Technica's AT2020USB+ are all well established. Just remember a desk mic also hears your keyboard, your mug and the road outside.
Lapel and wireless clip-on systems are excellent if you move around or present on your feet, but they need charging and clipping on, which gets old by Monday.
Pickup patterns and your room
Dynamic microphones, such as the Shure MV7 or the Samson Q2U, reject background noise better than condenser models and suit rooms with hard floors and bare walls. Whatever you buy, position matters more than price: keep the mic about a hand-span from your mouth, angled slightly to one side so you aren't breathing straight into it, and set the gain so your normal speaking voice sits comfortably below the top of the meter. A boom arm keeps typing noise off the stand. As for echo, a curtain, a rug or a bookshelf behind you does more than any software setting.
Lighting: the cheapest thing that changes everything
Good light flatters a mediocre camera; bad light ruins an expensive one. It is also the only item on this list you can fix today for nothing, which is why it should come first.
Key light, fill and colour temperature
You need one light source in front of you, slightly above eye level, and ideally nothing bright behind you. A window works beautifully as long as it's in front of your face rather than behind your head — if you can see the sky on your screen, your colleagues can't see you. Avoid ceiling lights directly overhead, which drop shadows into your eye sockets, and avoid mixing daylight from a window with a warm desk lamp, because your camera will pick one and make the other look wrong.
What to buy, and what to skip
- A £30 LED panel with adjustable colour temperature. Diffuse, dimmable and easy to place. This is the sensible first purchase.
- A desk lamp with a diffuser over it. Not elegant, but it does the job while you decide.
- A ring light. Cheap and popular, but the flat look and the circular catchlight in your eyes are instantly recognisable. Fine for make-up tutorials, less so for a client call.
- Bias lighting behind you. A cheap strip on the wall separates you from the background and stops you looking like you're floating in a void.
If you remember one rule: light your face, not your screen. Everything else is detail.
What to buy, and in what order
- Lighting. Free if you move a desk or a lamp, cheap if you buy a panel. It improves your picture more than any camera upgrade.
- Microphone. If people struggle to hear you, this is the fix. Start with a headset if you're unsure.
- Camera. Buy last, and only if you've lit yourself properly and still aren't happy.
- Accessories. A monitor riser or laptop stand to get the camera to eye level, and a boom arm if you end up with a desk mic.
Before you join the call
Two minutes of checking saves an hour of being the person nobody can hear.
- Check which camera and microphone the app has actually selected — laptops love defaulting to the built-in ones.
- Look at your own preview and ask whether your face is the brightest thing in the frame.
- Mute when you're not talking if your room is noisy, and unmute deliberately.
- Close the door, warn the household, and switch off anything that beeps.
- Test once with a colleague before the important meeting, not five minutes before it.
None of this needs to be expensive. The people on the other end of the call don't care what's on your desk; they care that they can see your face and hear your voice without straining. Sort the light, then the sound, then the picture — and spend the rest on a better chair.
Photo: jhenning / Pixabay